How to install Apache, MySQL and PHP on Ubuntu Server?
Introduction
LAMP Stack which stands for Linux, Apache, MySQL, and PHP, is an open-source software group that allows you to host websites written in PHP language. The website data is stored in a MySQL database and the dynamic content is processed by PHP.
Is this tutorial, we will show you, how to install the LAMP Stack on an Ubuntu 20.04 server.
Prerequisites
To complete this tutorial, you first need to have installed an Ubuntu 20.04 server.
Update your Ubuntu server
Before installing anything, you need to confirm that you have your server updated. To accomplish this, you just need to run the following commands:
sudo apt update
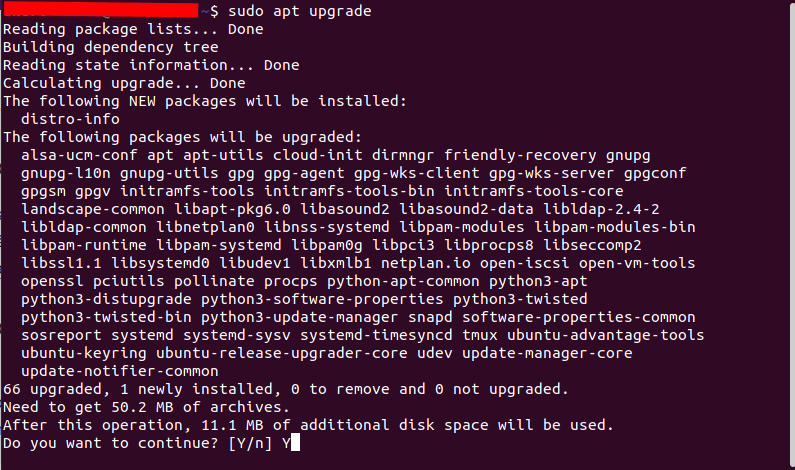
sudo apt upgrade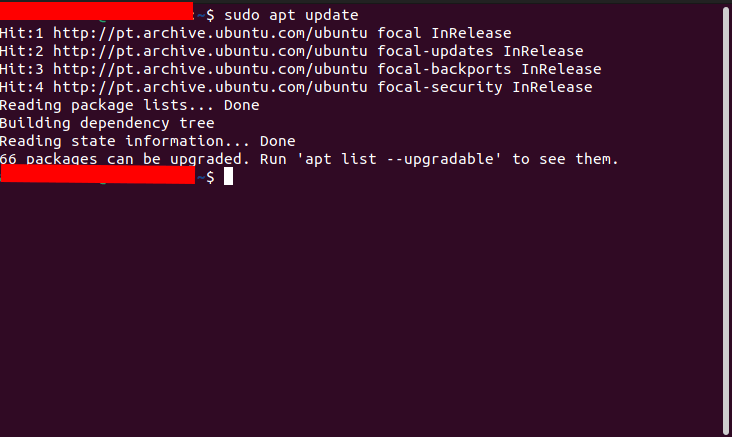
Installing Apache
The web server Apache is one of the most popular web servers in the world. It’s well documented and has a very strong community since it’s been used for a long time in the history of the world wide web.
To install Apache on your Ubuntu server, run the following commands:
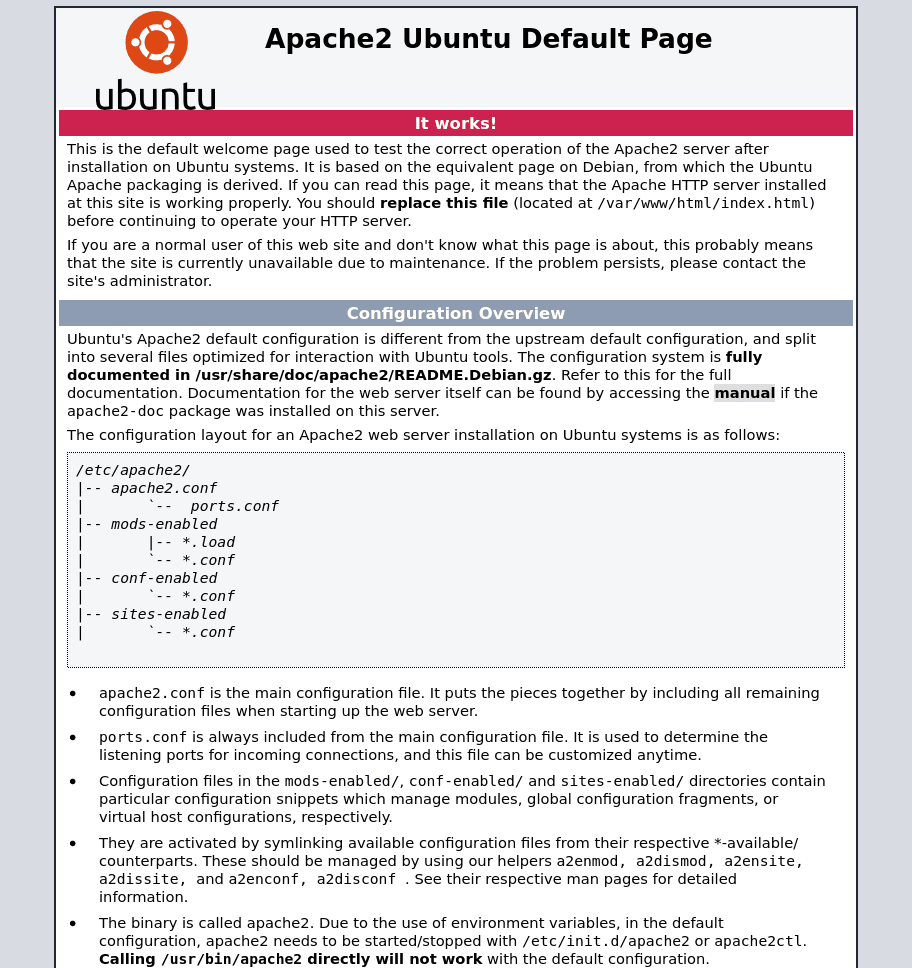
sudo apt install apache2After the Apache installation, you should access the webserver on your browser. To do this, you can simply put http://ip_of_your_server, on your web browser. You should see a page like the following:
How to find your public IP address of your server?
If you don’t know what is the public IP address of your server, there are many ways for you to find it. Normally, this is the address that you use to connect your server through SSH.
There are some ways that you can discover your IP address. One way is to execute the following command:
ip addr show eth0 | grep inet | awk '{ print $2; }' | sed 's/\/.*$//'This will return two or three lines. All addresses are correct, but your computer can only use one of them, so feel free to try each one of them.
Another way, is using the command curl to connect to another server and see how it see’s your ip:
curl http://icanhazip.comAdd your user to Apache group
Your web folder is located on the following path: /var/www/html/
However, the owner of this folder is root by default. You should change the owner to the Apache user.
To see what is the user of Apache, you should run the following command:
ps aux | egrep '(apache|httpd)'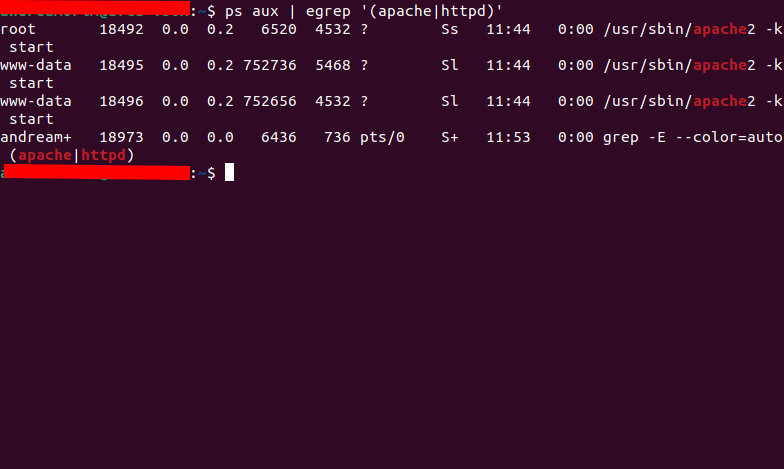
As you can see in the example above, the Apache user is running on www-data user. So, this means that we need to change the folder /var/www/html/ and all of its contents to this user.
cd /var/www/
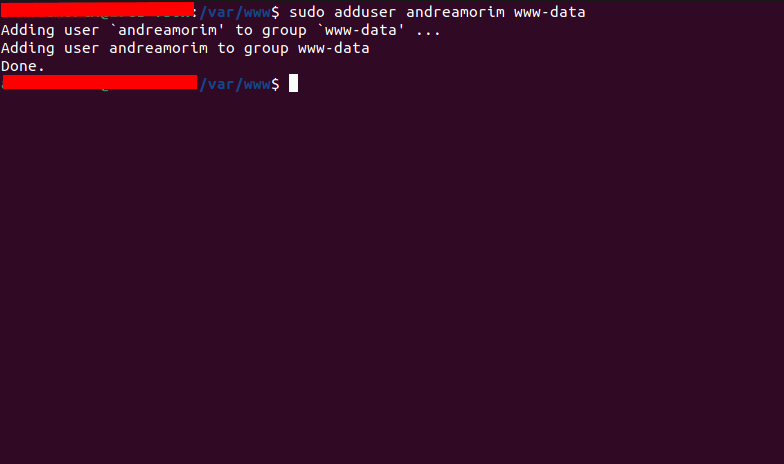
sudo chown -R www-data:www-data htmlAfter setting the owner of the html folder, you also need to add your own user to www-data group. To do this, run the following commands:
sudo adduser {USER-NAME-HERE} {GROUP-NAME-HERE}Check out the following example:
After this you need to logout from your session and make login again.
Now, if you want to add files with your own user into your web root folder, you still need to put the html/ folder writable to the group. To do this you need to run the following command:
cd /var/www
sudo chmod -R 775 html
After this command, you can add files with your own user now.
Installing MySQL
After having a running web server, you will need to install a database server, in order to storage and manage all your website’s data. MySQL is a very popular database management system, used in PHP environments.
In the same way for Apache, we will use apt to install this software. Use the following command:
sudo apt install mysql-server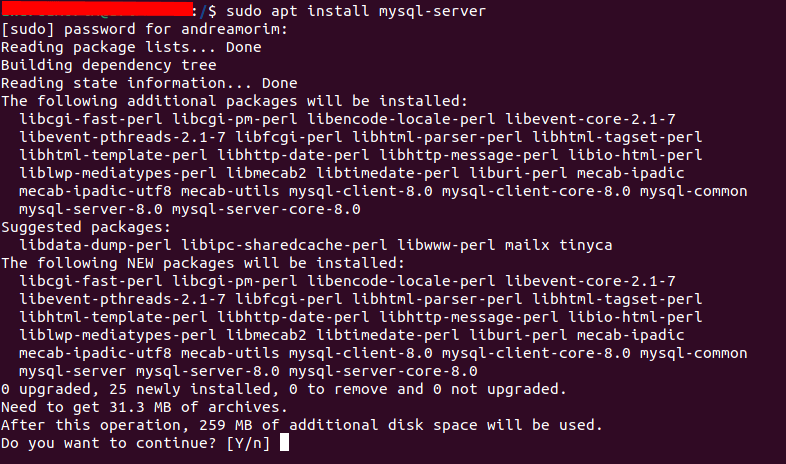
After the installation, it’s recommended to execute a security script that comes pre-installed with MySQL. That script will remove some standard insecure configurations. To start the script, use the following command:
sudo mysql_secure_installationAfter executing the command above, it will ask that if you want to use the VALIDADE PASSWORD PLUGIN.
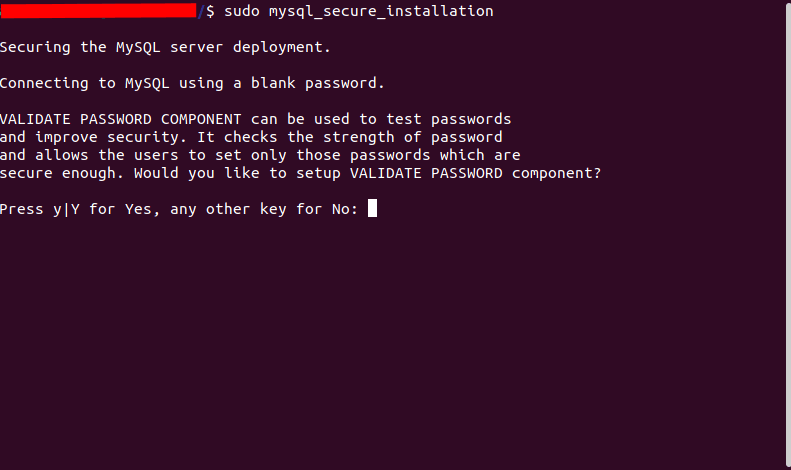
This functionality will examine if the chosen password corresponds with specific security criteria. If you press NO, you can choose whatever password you want. If you press YES, you will be asked what is level of security you want to choose.
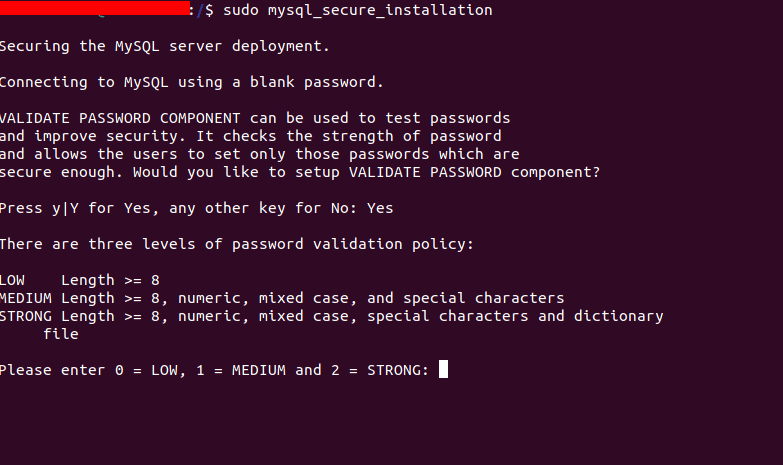
In this example, we choose to active the VALIDATE PASSWORD PLUGIN, and now the server is asking what are level of password validation policy:
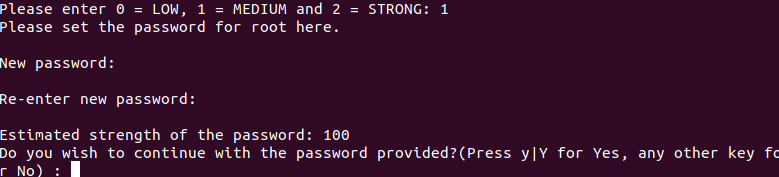
LOW: The password needs at least 8 characters. Those characters can be whatever you want;MEDIUM: The password needs at least 8 characters. It needs to have characters in uppercase, lowercase, and special characters;STRONG: The password needs at least 8 characters. Everything from MEDIUM but it’ll be checked that whatever you inserted is not present in a dictionary file (you can’t use common words).
After inserting the desired level, you will need to create your password. After inserting your password two times, it will give the estimated strength.
After inserting y for Yes, you will be asked if you want to remove anonymous users. Press y to proceed with the removal of those users.
Then MySQL will ask you if you want to disallow root login remotely. This is a security issue, so press y to disallow remote root login.
Press y to all other questions: the removal of test database and reload privilege tables.
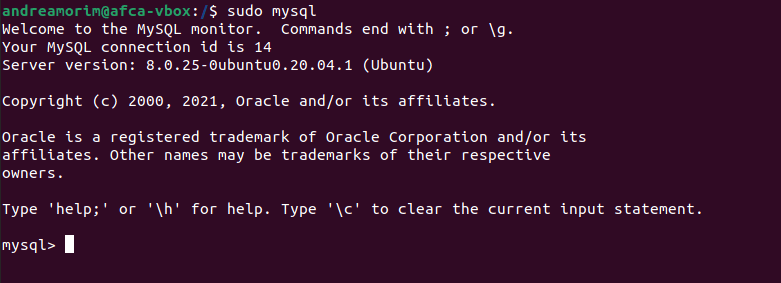
Once you are done, you can try to access your MySQL by executing the following command:
sudo mysqlThis will connect to MySQL server as an administrative user or root, which is intended by the use of sudo in the execution of this command. You should have a result like this:
To exit the MySQL console, type:
exitNotice that you don’t need to provide a password to connect as root user, even if you had defined one when executing the script mysql_secure_installation. That’s because the standard authentication method for the administrative user of MySQL is unix_socket, instead of password.
Although, this looks like a security issue, in fact, it makes the database server more secure, since that the only users that are authorized to make login as root user in MySQL, is the system users with sudo privileges.
In other words, this means that you will not be able to use the root user of the administrative database to connect from your PHP application. For this, you should define a password for the root user of MySQL as a safeguard, and change the standard authentication method from unix_socket to password.
To increase security, the best practices should be to configure user accounts for each databases with specific privileges. That means that each database has it’s own user, and that user can insert, update, delete and read data.
Installing PHP
You have installed Apache to present the content and MySQL to storage and manage data. Now you need to install PHP, so that your Web Server can process codes for displaying dynamic content for the end-user. In addition to the php package, you will need to install two other packages:php-mysql – it’s a PHP module that allows the PHP to communicate with your MySQL Database Server.libapache2-mod-php – it allows Apache server to handle PHP files.
To install this three packages, you just need to run the following command:
sudo apt install php libapache2-mod-php php-mysqlOnce that your installation finishes, you can execute the following command to confirm your PHP version:
php -v
And that’s it!
At this point, you have your LAMP stack 100% operational.
However, to increase security, you should read the article Ubuntu Server – Uncomplicated Firewall, where it will explain how can you configure your server firewall. Also, check out the article Apache Virtual Hosts, so you can learn how to host one or many domains to specific projects of your Web Server.